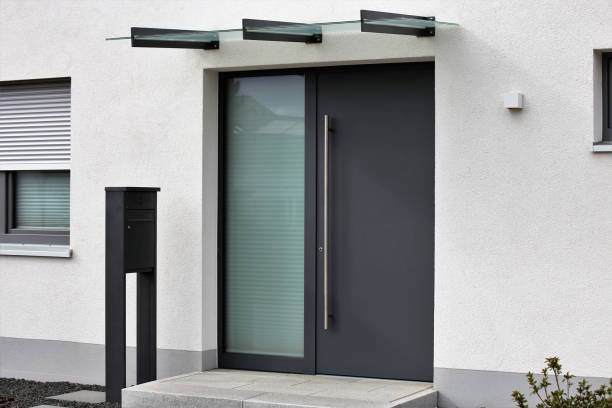
Are you searching for a way to add a touch of elegance and sophistication to your home’s interior? Look no further! Arch doors are a classic architectural feature that can instantly elevate the ambiance of any room. While the idea of creating your own arch doors may seem daunting, fear not! In this step-by-step guide, we will walk you through the process of crafting your very own DIY arch doors, allowing you to unleash your creativity and bring a unique charm to your living space.
1. Why Choose Arch Doors?
Arch doors, with their gracefully curved tops, exude a sense of grandeur and timeless beauty. By installing arched doors, you can enhance the visual appeal of your home while adding a touch of architectural character. These doors work wonderfully in various styles of interior design, from traditional to modern, making them a versatile choice for any room in your house.
2. Gather Your Tools and Materials
Before delving into your DIY project, ensure you have all the necessary tools and materials at hand. Here’s a quick checklist:
- MDF or plywood sheets
- Jigsaw
- Wood glue
- Clamps
- Sandpaper
- Wood putty
- Primer
- Paint or stain
- Paintbrushes
- Measuring tape
- Pencil
3. Measure and Plan
Begin by measuring the doorway where you intend to install the arch door. Take accurate measurements of the width and height, as well as the desired height of the arch. Use these measurements to plan the design and dimensions of your arch door.
4. Create the Arch Template
Using a large compass or a flexible bender board, sketch the arch shape on the MDF or plywood sheet. Carefully cut along the marked curve with a jigsaw. Remember, precision is crucial at this stage to ensure a seamless final result.
5. Assemble the Door Frame
Crafting the door frame is the next crucial step. Cut two vertical pieces of wood for the sides and one horizontal piece for the top of the frame. Use wood glue and clamps to securely join the pieces together. Allow the glue to dry completely.
6. Attach the Arch to the Frame
With the frame ready, attach the arch-shaped MDF or plywood to the top. Use wood glue and clamps to hold it in place until the glue sets. This creates the core structure of your arch door.
7. Finishing Touches
Smooth out any rough edges with sandpaper, paying particular attention to the arch shape. Fill any gaps or imperfections with wood putty and let it dry. Sand the entire door once more to achieve a flawless surface.
8. Prime and Paint
Apply a coat of primer to the arch door to provide a suitable base for the paint or stain. Once the primer dries, apply the paint or stain of your choice evenly with a paintbrush. Allow the finish to dry completely before proceeding.
9. Install Your Arched Door Australia
Enlist the help of a friend or family member to hold the door in place while you secure it to the doorway using hinges. Double-check that the door swings open and closes smoothly.
10. Bask in Your DIY Success
With the arch door installed, take a step back and admire your handiwork. Revel in the satisfaction of completing this elegant and rewarding DIY project that has transformed your home’s interior with a beautiful arch door.
Conclusion
Creating your very own arch doors may require some effort and attention to detail, but the end result is more than worth it. By following these steps, you can add a touch of timeless charm and sophistication to your living space while basking in the glory of your DIY achievements. Embrace your creativity, unleash your inner carpenter, and embark on this exciting journey of crafting DIY arch doors for a truly remarkable home transformation!
Visits Hardware Concepts for more information about Arch Doors.

